Starter button Kit Consisting of:
-Actual Starter Button
-12V Relay (To handle massive power draw)
-2x Wire Crimps
-Wires
Other stuff:
Screwdriver (With long shaft preferd) <- No dirty comments thanks
Drill
More wire
More Wire Crimps
Method:
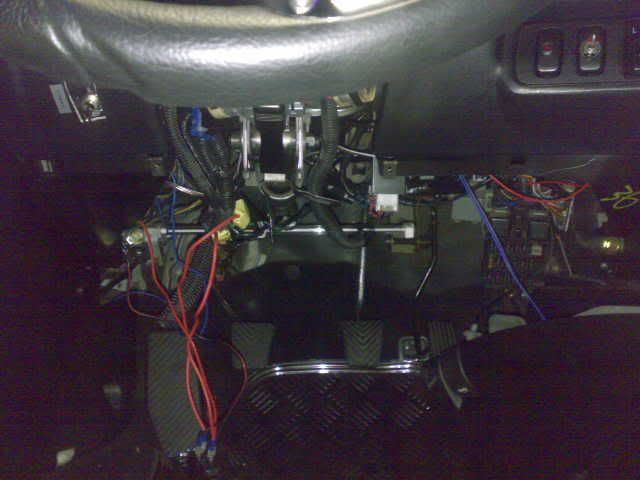
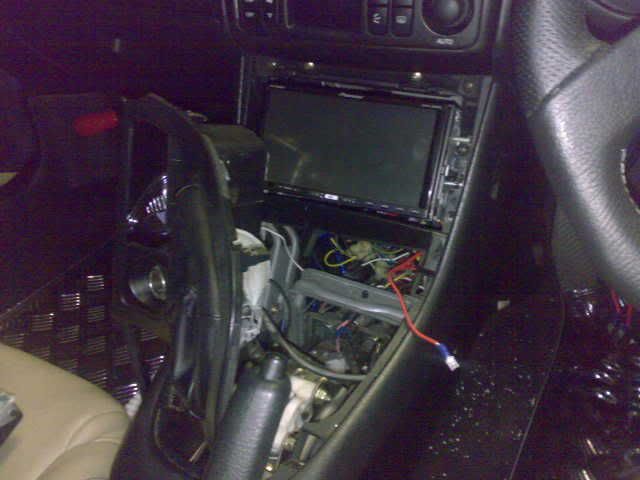
Righto. First things first. You need to pull the bottom peice of your dash, under the steering wheel, off. (This also has your Bonnet Popper attatched) This can be acheived by unscrewing the four screws that hold it in place.
Should look like this: (But prob neater)
Then Take off the cover that goes over your steering column. This is held in by another 3/4 screws. One of which requires a long screwdriver. The other two are either side of the column height adjust thingo. Then it clips apart in 2 sections.
The thing we are looking for is the 2 wires for the Starter motor. One of which is a constant 12V line (Big thick Red wire) and the other goes to the starter to engage it (Thick Black with Red stripe). Now dont mess round here kids. These have alot of power going through them. Best not to put a cheapo multimeter on them.
On the left hand side of the column you should see a largish white/blue plug.
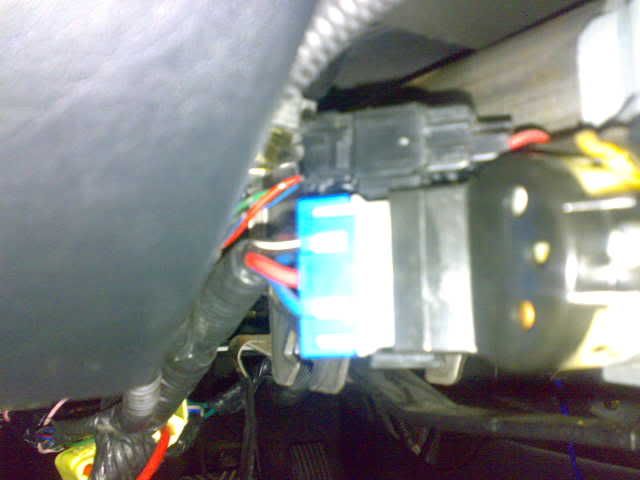
Just Double check it looks like this: (excuse the crudeness. im at work)
[ X ] [ X ]
[ + ] [ X ]
[ X ] [ . ]
With the Red X (black w red stripe wire) Going to the starter and the Red + Being the constant Live wire(Red thick wire). oh and to get the plug out you'll have to remove the small plug above it (It controlls the beeping sound and the key illumination. Thinking about removing that annoying beeper.)
If you follow these wires down, you should be able to find an appropriate spot to join in to them.
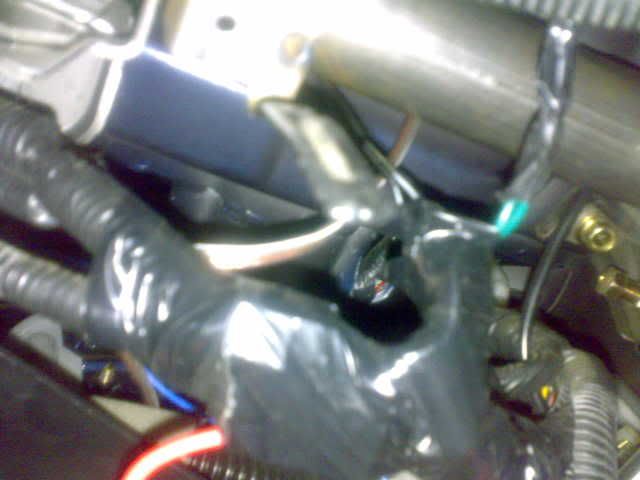
Mine was covered in tape (probably due to my alarm) so i stripped back the tape and clamped onto both of these with my supplied clamps (these wires are quite thick and require some heavy duty connecter things).
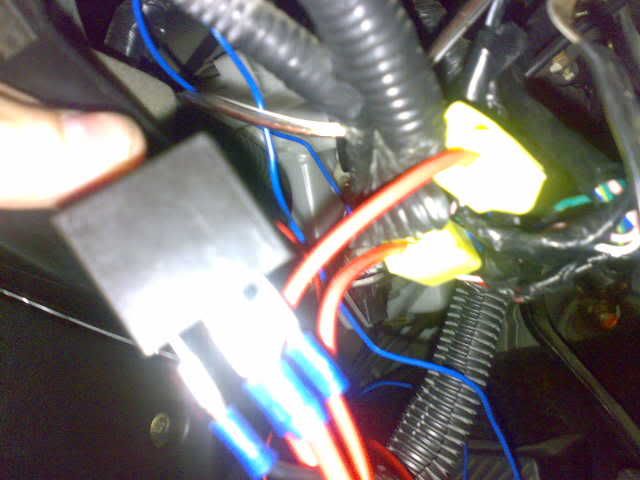
The two wires go straight to the Relay. There thats that side of things done.
Now for the other side of the circuit.
First you need to find a point to install your start button.
I was going to put it down low on the left side of my dash (near steering wheel) but my boost switch is there.
Another option is to pull out your cig lighter and install it there. (However i use it regularly with GPS/Phone charger)
So i settled on using it in my Center Console.
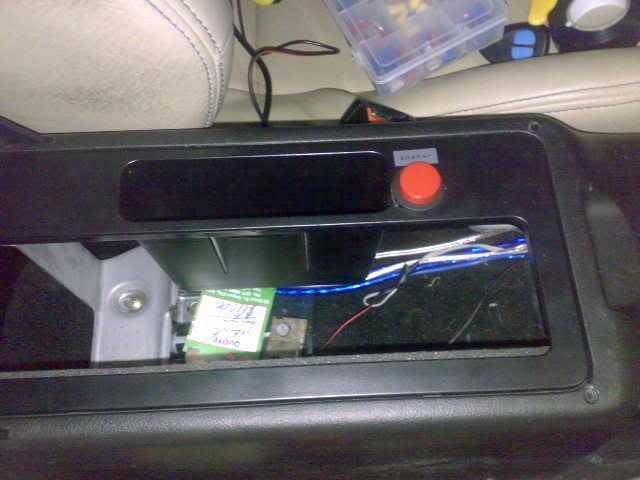
Not only will it remain hidden from people looking in, but its relatively hard to bump (As its protected by the lid. DO NOT MOUNT IT ANYWHERE IT CAN BE BUMPED. IF YOU PRESS IT WHILE your ALREADY RUNNING YOU'LL DAMAGE SOMETHING.
People who dont have a stacker in their console will have to find an alternative. (Warning: First check the thickness of the spot. My boost switch looks rooted thanks to there actually being 2 layers of dash.
Once you have the area sorted you need to mark it out with either a marker or a knife, etc. Then Drill it. I only had a 7mm drill peice for a 25mm hole. so i drilled several holes and then used a file and stanley knife to make it nice. Button fitted like a dream.
So now all you need is to get it some power.
I ran a wire from the cig lighter + (Via another handy Patch Crimp) to the switch. Then from the other side of the switch to the relay. Then from the other side of the relay to a ground point.. It is best to situate the relay closer to the starter wires as they've got the most power running through them.
Once you have all these run, put your key in, put it in neutral and give it a go! Viola (Hopefully)
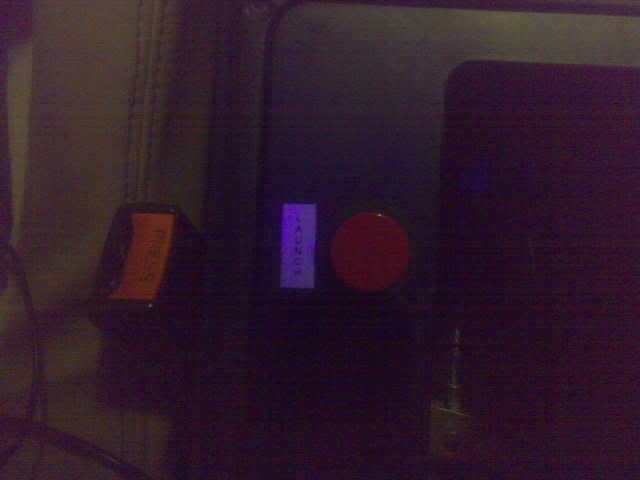
Remember, Measure twice, cut once.. a code i live by. Double check everything before having that first "Test push"
This guide has been taken from ftoaustralia
No comments:
Post a Comment